OUR COURSE
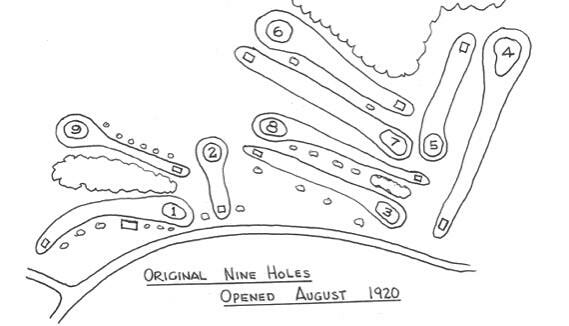
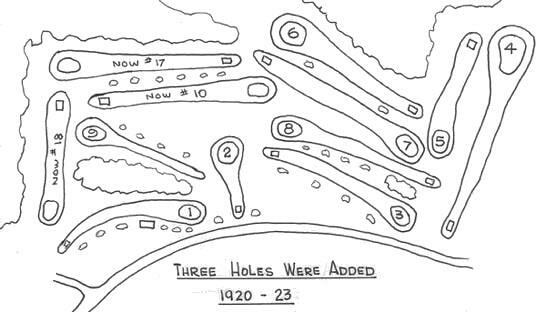
While land was originally purchased for 18 holes of golf, only nine holes were initially in play. Between 1920 and 1923 three additional holes were added, and between 1925 and 1926 the final six holes were added making Windermere a full 18 holes of championship length.
 |  |
Hole By Hole
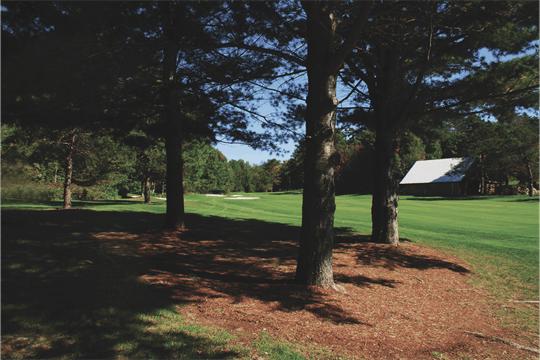
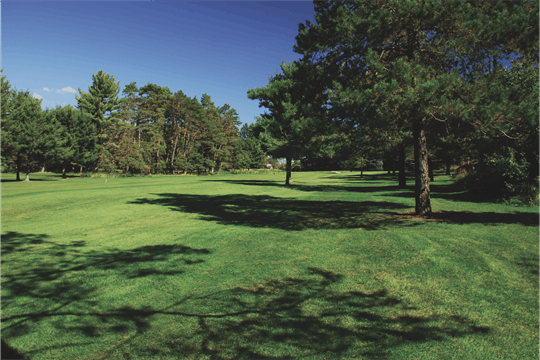
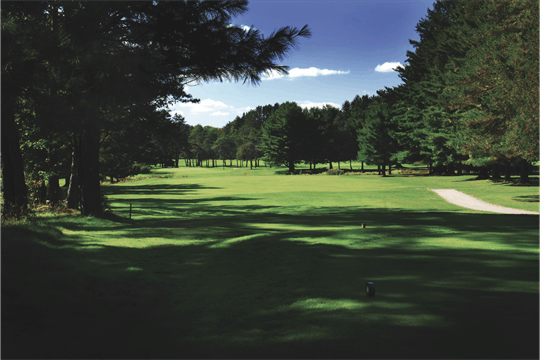
| Hole #1 Old Barn - Par 4 Take aim at the left edge of the first bunker beyond the fairway with a Hybrid or long iron and try not to cut too much of the dogleg – it doesn’t pay. O.B. borders the right hand side. The second shot plays somewhat longer than the actual yardage and the green is fairly small. Try to leave yourself below the hole.
|  |  |
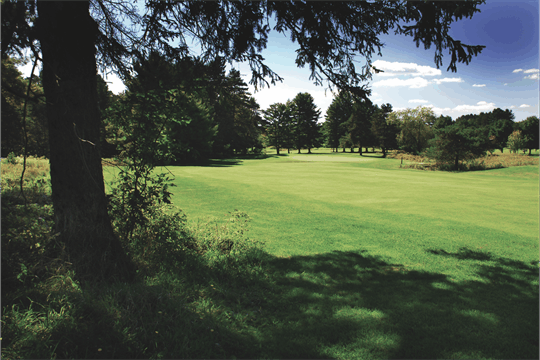
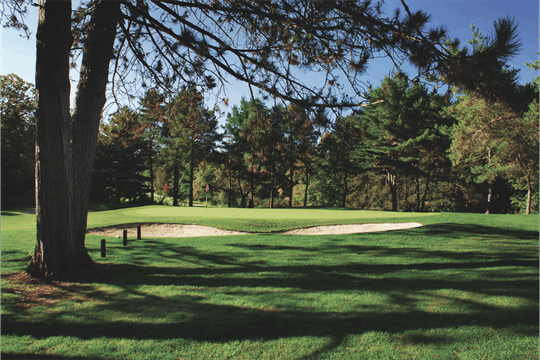
 |  | Hole #2 Henry’s Gully - Par 3 The prevailing left to right head wind demands one more club. The big trap on the left side of the green will catch all errant pull hooks. The safest play is to the left-center of this green. Just because you hit the green does not guarantee a par.
|
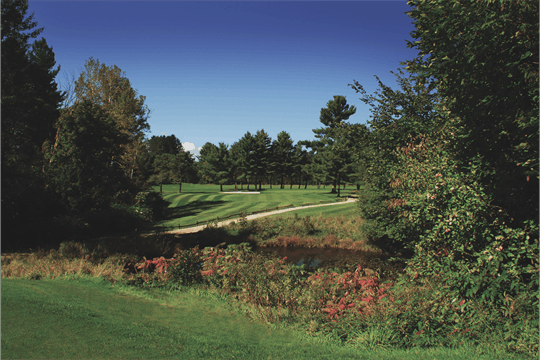
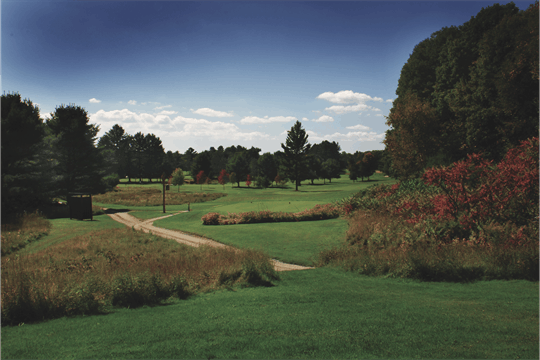
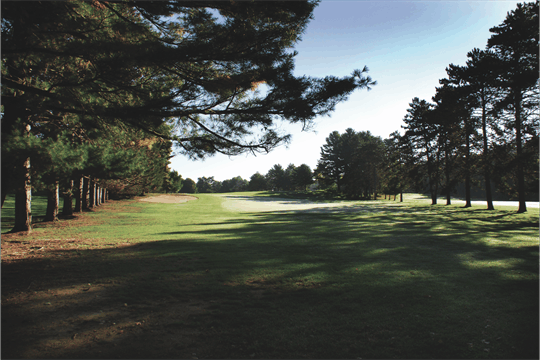
| Hole #3 Boundary - Par 4 This medium length par four requires a well placed drive in the center of the fairway that will leave you with a mid iron to green. Check the prevailing wind and make sure to pull enough club as water just in front will consume those shots that come up short. If you are going to play conservative, missing to the right hand side of the green is the best choice.
|  |  |
 |  | Hole #4 Long Reach - Par 4 This uphill par 4 plays longer than the yardage. Dogleg left entices one to cut the corner for a short iron to the green. The uphill approach shot calls for an extra club. Shots to the left side of the green will slide right on this, the most severely sloped and quickest green on the course. Make sure you are below the hole.
|
| Hole #5 Westward Hoe - Par 4 This monster par 4 requires you to favour the right side off the tee. There is a pond to the right side of the green and short right. Favour the left side of the green and it usually plays a half a club longer. Making par here will feel like a birdie!
|  |  |
 |  | Hole #6 Beech Ridge - Par 5 A big hitter’s delight, this uphill, reachable Par 5 is quite wide open, but requires a precise 2nd shot if your going for it in two. Try to avoid the flanking bunker on the left hand side of the green.
|
| Hole #7 MacLeod’s Pond - Par 4 An accurate tee shot is required to a straight and narrow fairway. The left side of the fairway will put you in perfect position for your second shot. An approach shot needs to favour the left side of the green because of the large false front on the right. Make sure you pull enough club, with water in front eager to swallow the short ball.
|  |  |
 |  | Hole #8 Piper’s Glen - Par 4 A long very narrow par 4 that demands length and accuracy. The fairway funnels to its narrowest point at 275 yards. There are two deep ponds at the end of the fairway some 100 yards from the green. Take an extra club on the approach and read your putt carefully.
|
| Hole #9 Hooker’s Folly - Par 4 A 3 wood or long iron is prescribed on this hole. A well placed tee shot will offer a short approach from the middle of the fairway. Keep your approach towards the centre of the green as anything missed left will kick towards a deep bunker and, while shots missed to the right will be eaten up by a shallow bunker.
|  |  |
 |  | Hole #10 Flat Top Pine - Par 5 A great start to your back nine! This short par 5 requires an accurate tee shot favouring the right side of the fairway. The big hitter may be able to reach the green in two, but the safe play is laying up and being able to put a short iron in your hand. Play to the front of the green as it is usually fast and firm.
|
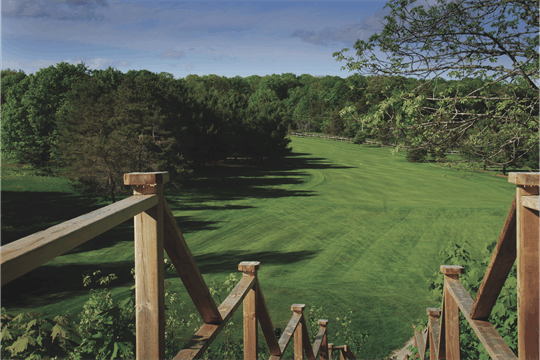
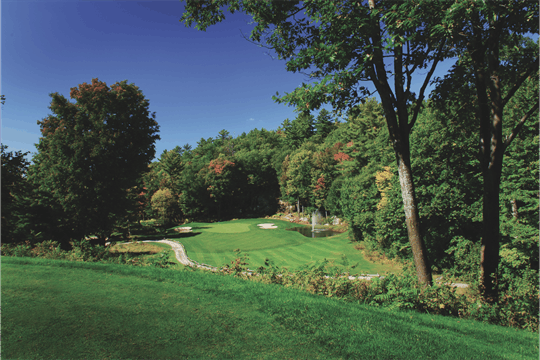
| Hole #11 Pulpit - Par 3 Our Signature Hole requires you to focus on hitting the green and then enjoy this spectacular view! Wind direction is very important on this tricky par 3, so good club selection is the key to hitting this green. Errant shots are likely to be gobbled up by the bunker on the left and hazard on the right.
|  |  |
 |  | Hole #12 Lower Wallop - Par 4 A strong par 4 that usually plays into a prevailing wind. The drive should be left of centre to give the best angle of attack at the green. The second shot should favour the left side of the green as danger awaits you with a water hazard on the right. This green falls back to front and has some subtle breaks to it.
|
| Hole #13 Matthew’s Legacy - Par 4 A short but tricky hole! An iron could be used off the tee to avoid the fairway bunker on the left and the water hazard on the right (it’s there!). Do not miss this green to the left or long and keep your second shot below the hole.
|  |  |
 |  | Hole #14 Fore! - Par 4 This medium length par 4 sets up perfectly for an accurate tee shot. A well placed drive in the center of the fairway will leave you with a medium to short iron. Remember: Club selection off the tee is critical.
|
| Hole #15 Llanllar - Par 3 This is a medium length par 3 that plays up hill with bunkers on the left and right side of the green. Distance and accuracy is a must. Miss the green and expect to drop one shot.
|  |  |
 |  | Hole #16 Upper Wallop - Par 5 This is the last par 5 on the course. A long, straight tee shot is required as trees line the right side of the fairway. With an aggressive tee shot there is potential to reach the green in two. There is great potential for a birdie opportunity.
|
| Hole #17 Dormy Two - Par 4 An accurate tee shot is required, as both sides of the hole are lined with trees and fairway bunkers. Your approach shout must carry a well guarded bunker just in front to a green that slopes from back to front. Par here is good!
|  |  |
 |  | Hole #18 Rosseau - Par 4 Excellent finishing hole can make or break a round. There is a variety of different options to play this hole. A possible eagle, but the OB on the right has turned many 4’s into 6’s. Try to keep the ball below the hole.
|